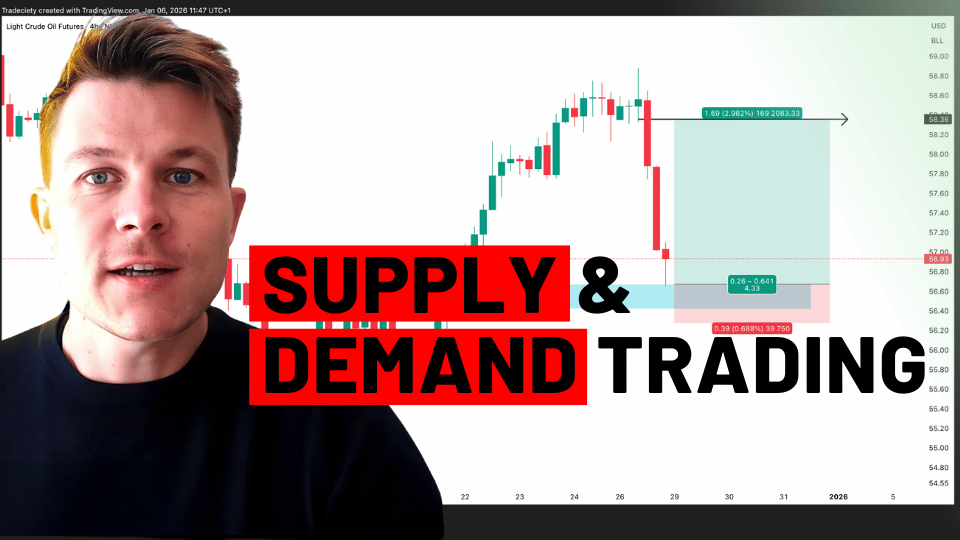
Supply and Demand Trading in 2026
We have been trading supply and demand strategies for over ten years, and they have stood the test of time remarkably well. Supply and demand is...
Spotting supply and demand zones on your charts can be a helpful trading tool. Similar to support and resistance levels, these zones highlight areas on the chart where the price is likely to bounce or reverse.
Traders use these zones to pinpoint areas where they might buy or sell. In other words, supply and demand zones act as a first filter, helping you identify potentially profitable price levels.
Although the concept of supply and demand is somewhat similar to support and resistance, there are some important differences between the two concepts. Whereas support and resistance levels simply exist at price turning points, supply and demand zones are found at the origin of strong momentum and trend movements.
The image below shows conventional support and resistance zones, marking price turning points. Many traders struggle using support and resistance because the price often reacts quickly at those levels without providing easy entry points.
Supply and Demand zones, on the other hand, are drawn around the consolidation before a strong and explosive price move. Later, when the price returns to such zones, the price will often show a similar reaction. We can see in the screenshot below that when the price created the two supply zones in the downtrend, the price later touched the zones, moving lower once again.
Whereas drawing support and resistance levels is straightforward, finding good supply and demand zones is often not as simple. For that reason, this article explains the 6 odds enhancers that enable traders to distinguish between good and bad supply and demand zones in their trading.
A good demand zone typically shows narrow price behavior before the explosive breakout. If the zone shows a lot of candle wicks and strong back and forth during the zone, it doesn't qualify as a high-probability zone.
The narrower a supply/demand zone before a strong breakout is, the better the chances for a good reaction the next time typically.
Bonus tip: before a demand zone is created, the price will often trade in a sideways accumulation range (Wyckoff Theory). The accumulation range is a period during which the "big players" (smart money) are slowly accumulating large orders. If you then see a strong breakout from the demand zone that is built on top of an accumulation zone, it shows a high-quality demand zone because it can point towards institutional trading.
A good supply zone is characterized by a short consolidation. Good supply zones are somewhat narrow and do not hold too long. A shorter consolidation zone works better for finding re-entries during pullbacks that are aimed at picking up open interest.
The scenario below shows a supply zone during which the price just spent a handful of candlesticks trading sideways. Such behavior shows a great imbalance between buyers and sellers because the price immediately resumes trending.

When the price returns to the supply zone the next time, the market picks up more selling interest once again and starts trending lower, away from the supply zone.

Bonus tip: in trading, the scenario above is called "drop base drop". The supply zone occurs within a strongly trending market phase. The shorter such base phases, the stronger the overall downtrend is.
The “Spring” pattern is a term coined by Wyckoff and it describes a price movement in the opposite direction of the following breakout. The spring looks like a false breakout after the fact, but when it happens it traps traders into taking trades in the wrong direction (read more: Bull and bear traps). Institutional traders use the spring to load up on buy orders and then drive the price higher.
The scenario below shows a demand zone where the price formed a bearish spring pattern shortly before. The spring tempts the average retail trader to go short, selling to the smart money. The following explosive bullish move then leaves the retail traders with losses, forming the demand zone.
At one point, the price leaves the supply zone and starts trending. A strong imbalance between buyers and sellers leads to strong and explosive price movements. As a rule of thumb, remember that the stronger the breakout, the better the demand zone, and the more open interest will usually still exist – especially when the time spent at the accumulation was relatively short.
The demand zone in the example before was created just before an extremely strong bullish breakout. Finding good supply and demand zones is, therefore, not that difficult when you just start looking for the strongest price movements on your charts.

If you trade supply areas, always make sure the zone is still “fresh” which means that after the initial creation of the zone, the price has not come back to it yet. Each time the price revisits a supply zone, more and more previously unfilled orders are filled and the level is weakened continuously. This is also true for support and resistance trading where levels get weaker with each following bounce.
The price created a new demand zone on the left within the "rally base rally" formation. The first time the price then comes back to the zone, the strong downtrend slowed and completely turned around, showing the power of supply and demand trading.

This principle also applies to support and resistance trading and it can help traders understand why they often struggle to find good trading opportunities. The amateur squeeze allows good and patient traders to exploit the misunderstanding of how market behavior of consistently losing traders.
Most amateurs will try to buy directly off support and sell right at a resistance level. The problem, however, is that price action is messy and imperfect. The price will often overshoot your support and resistance levels before turning in the anticipated direction. Therefore, it is best practice to wait for a clear price pattern and turning signals before entering a trade.
In the scenario below, the price returns to a fresh demand area. The price initially overshot the demand area and a few large wicks are going through the zone. Amateur traders will probably experience stop runs and although the price would have eventually turned in their anticipated trend direction, away from the demand area, many amateur traders would have still lost in this example.
Therefore, we recommend waiting for a clear price pattern and a breakout higher from the demand zone, before getting involved.

Most trading concepts sound great in theory, but only if you can apply them in your actual trading, they're worth investing your time and effort to master.
I recorded a full and completely free supply and demand trading course on YouTube:
external link:

We have been trading supply and demand strategies for over ten years, and they have stood the test of time remarkably well. Supply and demand is...
3 min read
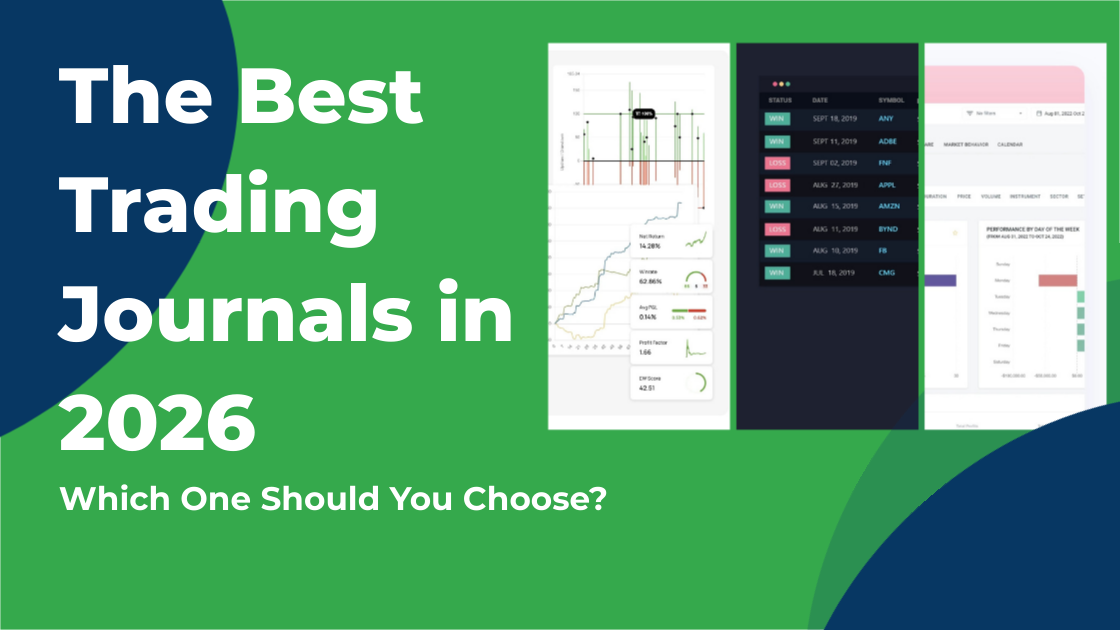
Choosing the right trading journal is essential for traders wanting to analyze performance, refine strategies, and improve consistency. In this...
3 min read
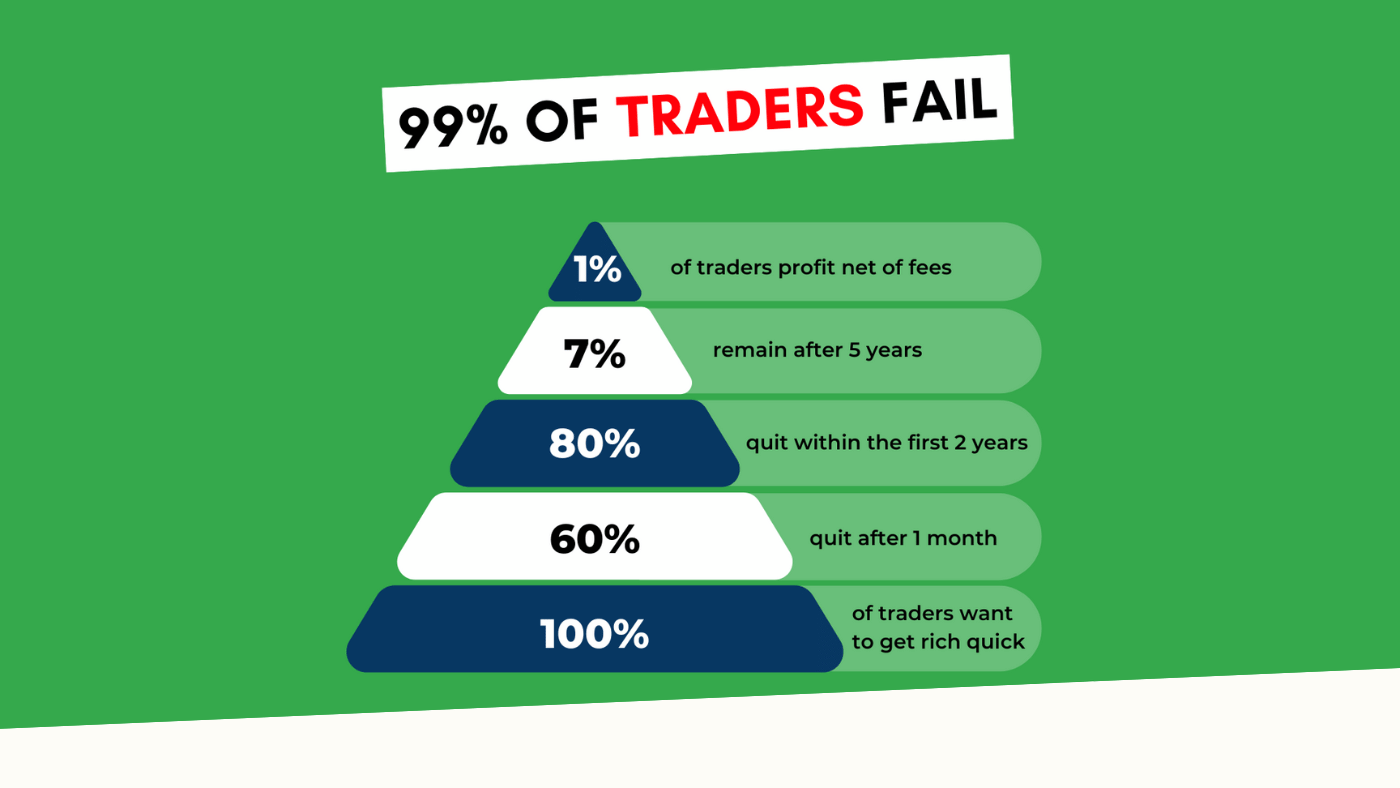
“95% of all traders fail” is the most commonly used trading related statistic around the internet. But no research paper exists that proves this...