3 min read
Scientist Discovered Why Most Traders Lose Money – 24 Surprising Statistics
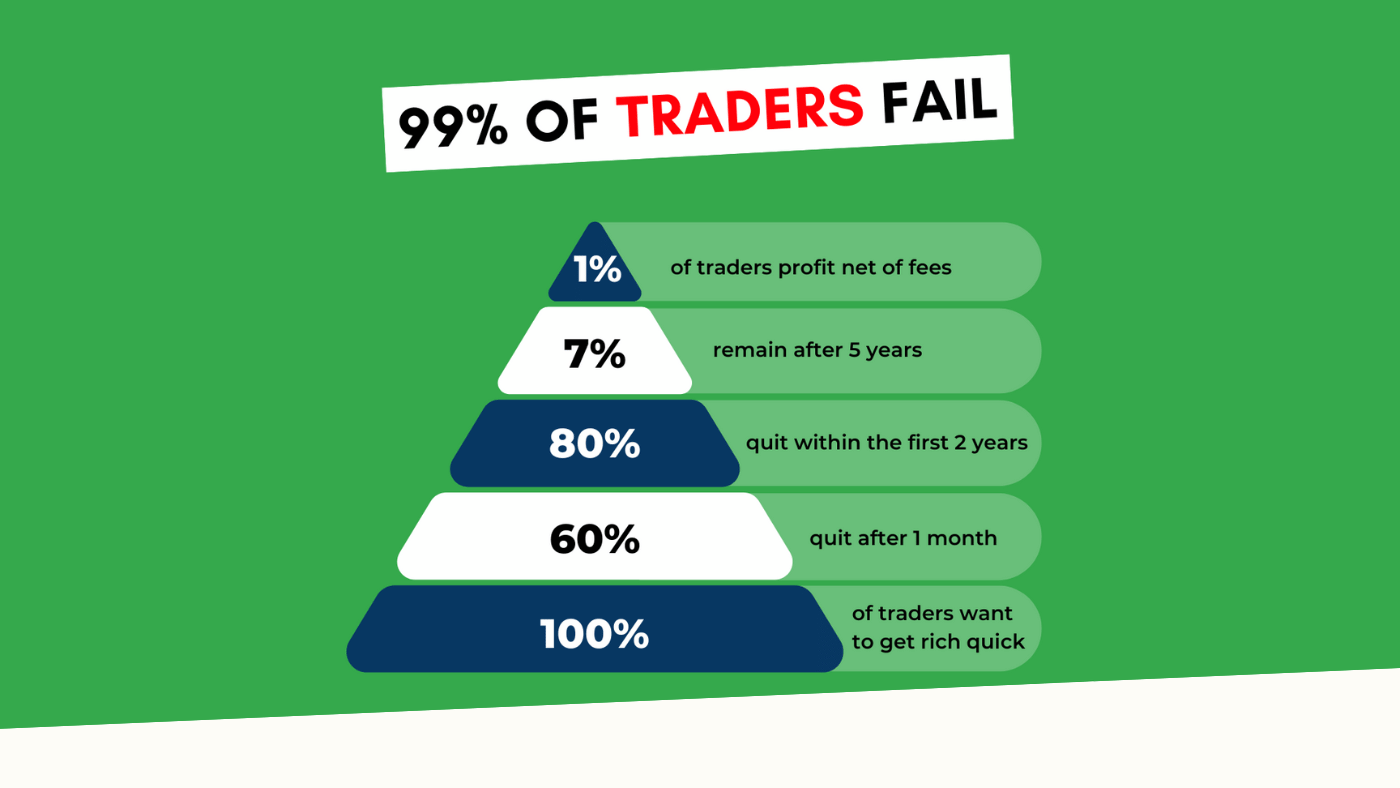
“95% of all traders fail” is the most commonly used trading related statistic around the internet. But no research paper exists that proves this...
5 min read
Rolf
Feb 13, 2017 7:00:00 PM

Pin bar (or the hammer as it is also called), is among the most popular of candlestick / bar patterns that price action traders look out for. Heck, there are entire trading strategies centered on these high probability bar setups.
But did you know there is more to trading pin bars than just spotting the perfect looking one? Where a pin bar is located is often far more important than how a pin bar looks. That is exactly what this post is about. Let’s look at three best and three worst locations for pin bars – regardless of how strong the pin bar appears!
Arguably the most suitable position for pin bars is absolute swing points! The absolute highs and lows on a chart relative to recent price action make up for great locations to trade pin bars. At these locations, a strong pin bar will stick out like a sore thumb with the nose (longer wick) protruding away from recent price action, giving it the standout, authoritative look.
Some traders will hesitate going against the trend, but bear in mind pin bars by nature are reversal bars, and given the context and strength of the bar itself, these can make for splendid entry points at the source of a trend.
As a caveat though, prepare to come across the real obvious setups extremely rarely, but when they do pop up, it can often become a high probability trade.
Another plumb of a location for a great looking pin bar has to be at the pullback to crucial support and resistance areas, or chart pattern boundaries following a breakout.
Price action trading is really all about just following proven momentum paths and phenomenon. And ‘breakout + retest’ is among the most proven market dynamics that exist. It ties into general chart pattern trading concepts, good old support and resistance trading (as shown above) and even the more advanced ‘voodoo’ concepts of order flow trading and stop hunting.
Topping these movements with confirmations from a sweet looking pin bar is just about as solid as a trade setup can get for you. Enough said!
The good old ‘bounce’ off of a crucial support and resistance area is perhaps just as avidly followed and anticipated as the breakout and retest phenomena. Again, no surprises why a pin bar to support that story is a reliable trigger to high-quality trade setups.
Unfortunately, this is also the setup that can get a lot of price action traders, simply because most cannot differentiate between an average support and resistance area and a super strong one.
The hack is actually pretty simple. The stronger the support and resistance area is, the easier it will be to spot on the chart! I have a simply rule for this: If I can eyeball a horizontal support and resistance area without having to fetch my rectangle tool, I know it’s a strong area. You’re free to use your own cues.
Also with trading horizontal support and resistance areas, make sure you understand the concept that support and resistance areas can be thicker zones encompassing a price range, or they can be ultra-tight, sometimes just a single round number. The thickness of these areas does not disrupt their strength. Like I said, the best cue for the strength of an area is going to simply be how obvious it is.
Moving on….let’s outline three worst locations for your pin bars:
You might have just spotted a splendid pin bar, but if it is trading straight into a tight consolidation zone, it might not just be worth your hard earned money.
Trading within consolidation periods, where the trade is killed for space – i.e too many close by trouble areas, marked by recent bar highs and lows, round numbers, major and minor S/R flips and other factors like Mas) – can drastically affect the outcome of the trade.
Ironically, prepare to see most of your pin bars during these situations only! As price whips up and down, it is quite normal for price to be printing pin bars often (notice a pin bar too displays a move up and down within the same bar). Most of these will not be worth your money.
Watch out getting excited looking at a seemingly strong pin bar (that your fingers are twitching to pull the trigger for) but is heading against a pertinent story.
Ideally as a trader you should be aware of the ongoing story and market momentum (sideways vs trending, price squeezing in a wedge or another chart pattern, divergence, etc) even before you spot a pin bar or any other entry trigger you might be using. Unless you are a scalper, aligning your entries with the broader theme is extremely crucial to bag a home runner!
Here is an example of a beautiful pin bar, running horribly counter to a pertinent story. I have also highlighted another pin bar – much uglier than the one in question – but worth a lot more pips – simply for being ‘with the story’. I am not a fan of trading ugly looking pin bars, but this is just to get the point across.
This should surely raise some eye brows. I mentioned above that pin bars are reversal bars and so we would be going against ‘momentum’ by default when trading pin bars. So why is that suddenly an issue? Hang on!
By momentum, I don’t mean a dragging and diverging up trend that ends up printing a strong bearish pin bar at a swing high. I am emphasizing setups where a pin bar prints against strong momentum marked by rapid price movement.
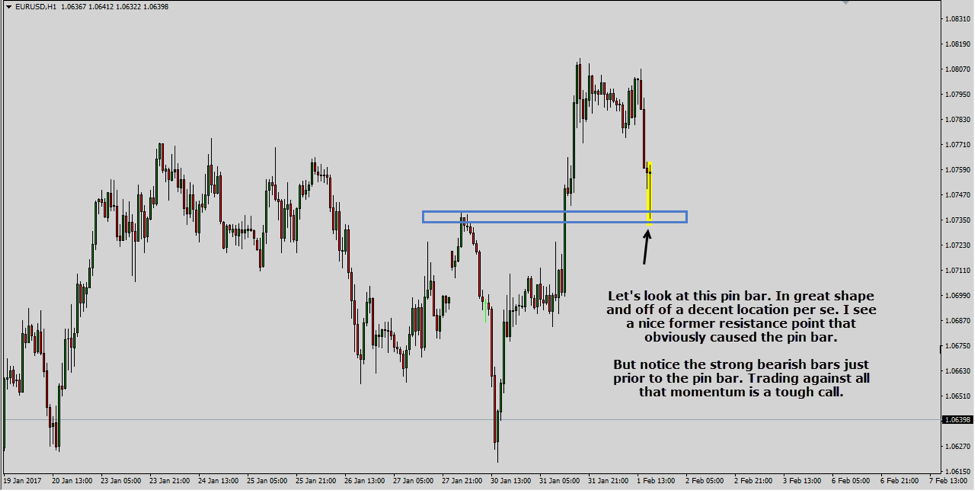
Let’s look at an example quickly to kill a few question marks in your brain:
Trading against strong one-sided momentum can be detrimental to your profitability and you need a very good reason to be going against it – even when you see a strong pin bar.
One of these reasons can be derived from the logic of order flow, whereby price will sometimes accelerate hard into a level due to lack of liquidity, as order flow condenses around the important level. You can find more information on that in another post I wrote here.
Generally speaking however, it is best to avoid trading against strong momentum in the market. One cue you can use to safeguard yourself from going against the flow is to match the size of the bar with the preceding bars. If the pin bar is at least as big (preferably much bigger from high to low) than the preceding bars, you likely have a strong case. In the example shared above, notice how the big bearish bar before the pin bar is way bigger than the pin bar itself. That is a sure giveaway that you could be trading against strong momentum.
Do please note that all of the above situations have been presented in isolation and dissected for clarity and education. In real-time you have to look at pile up multiple factors in your favor before pulling (or not pulling) the trigger.
For example you may find a slightly weaker pin bar even at a swing high could call for adding multiple factors in it favor like a longer term support and resistance zone or maybe a historical proven round number or moving average. Similarly you could decide against trading a pin bar at a solid support and resistance area, perhaps because it is headed into traffic.
There is no perfect textbook pin bar setup. And in fact, every setup you find will really just be a mixture of goods and bads. It is up to you to weigh the odds – which of course require practice and loads of chart time.
This is the subjectivity in trading that some struggle with, but it is also an undeniable fact. No two trades will ever be the same! Deal with it.

3 min read
“95% of all traders fail” is the most commonly used trading related statistic around the internet. But no research paper exists that proves this...

3 min read
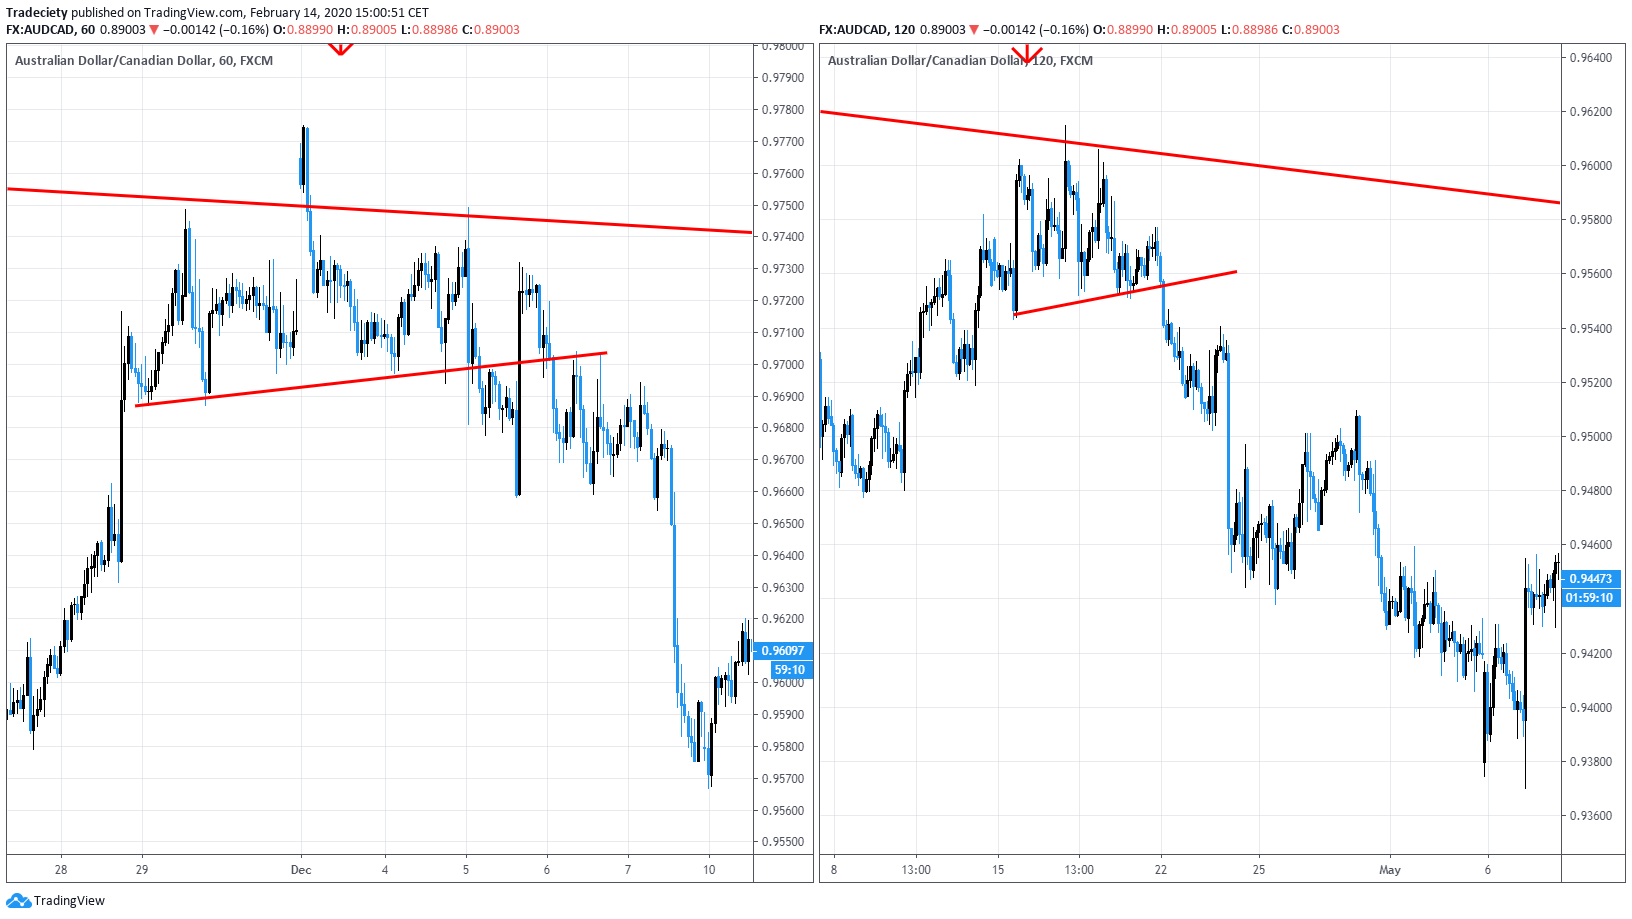
Trendlines can be great trading tools if used correctly and in this post, I am going to share three powerful trendline strategies with you.

3 min read
Choosing the right trading journal is essential for traders wanting to analyze performance, refine strategies, and improve consistency. In this...